Container House Installation Guide for Site Teams & Project Contractors
Prepare your site, foundation, tools, crew and MEP connection before your modular container units arrive. This guide explains the practical installation workflow for standard container units, flat pack container units, foldable container houses, portable cabins and sanitary modules.
Installation Guidance by Container Unit Type
Different modular buildings require different installation methods. This guide gives buyers and site teams a clear overview of the main installation points before units are unloaded, positioned, assembled and connected on site.
Positioning, leveling, joint sealing and final inspection for assembled or semi-assembled container units.
Frame, column, wall panel, roof panel, door and window assembly sequence.
Lifting, unfolding, locking, fixing and fast deployment checks.
Foundation positioning, on-site placement and utility connection preparation.
Water inlet, drainage outlet, waterproofing and plumbing connection review.
Electrical, plumbing, drainage and local compliance coordination.
Not sure which guide applies to your product type? Send us your project details.
Request Installation DocumentsPrepare the Site and Foundation
Before Units Arrive
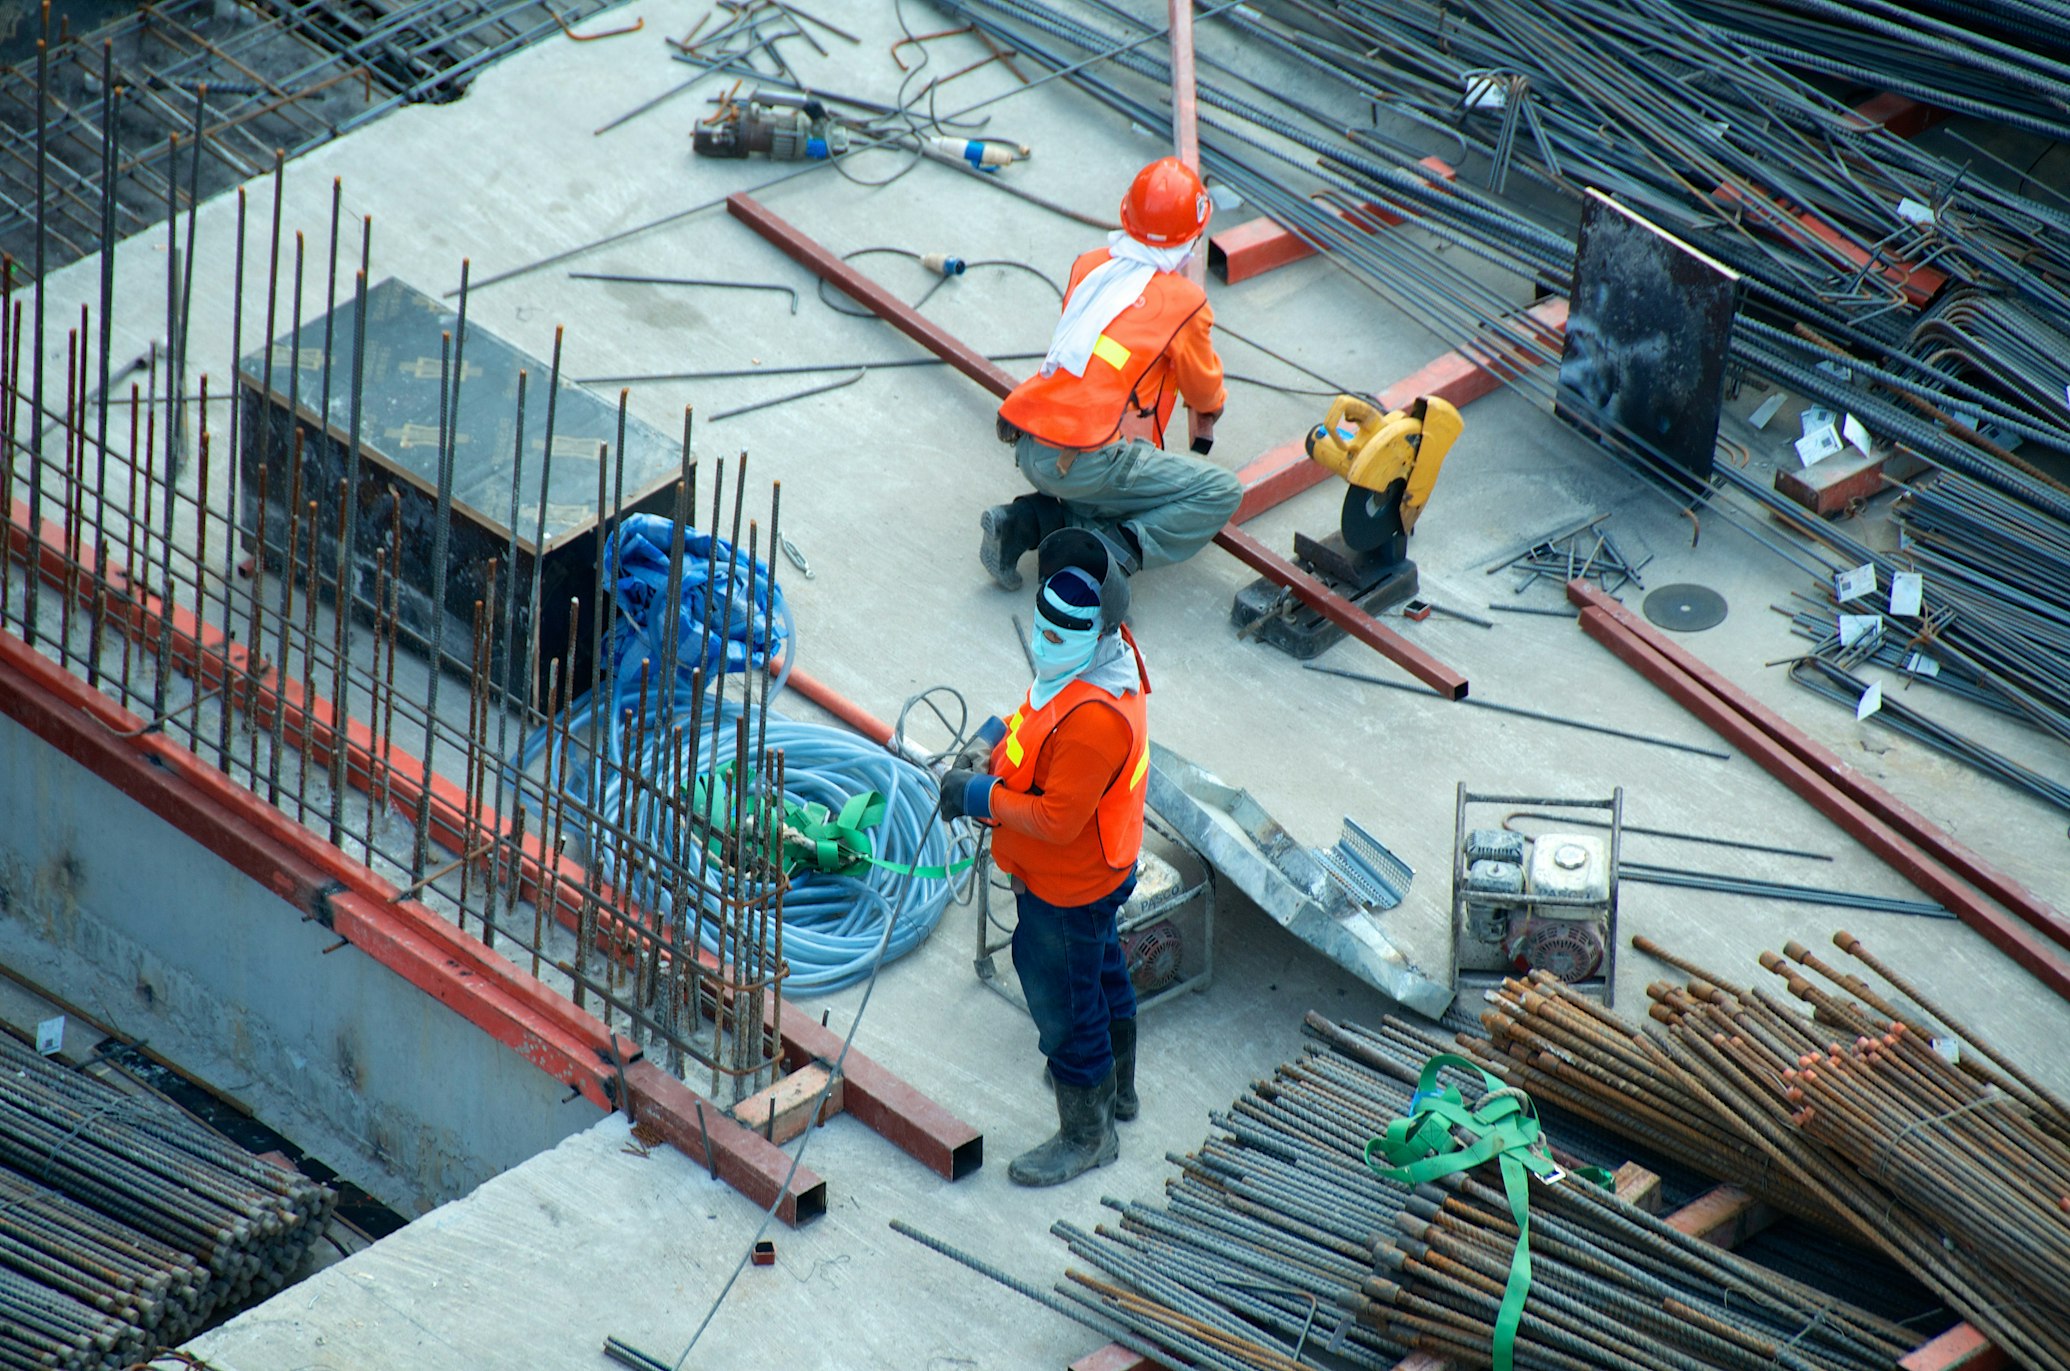
Most installation problems are caused by poor site preparation, not by the container unit itself. Before delivery, the site team should confirm ground level, foundation points, drainage direction, unloading access and utility connection positions.
Site preparation: level ground, concrete foundation points, drainage slope, truck access and unit placement area.
- Level and compact the installation ground before unloading.
- Prepare concrete blocks, strip foundation, slab foundation or other approved support according to project design.
- Confirm all foundation points are aligned with the final layout.
- Plan drainage direction to avoid water accumulation under or around the units.
- Keep enough space for truck access, crane operation, forklift movement and temporary storage.
- Mark water inlet, drainage outlet and electrical connection points before installation starts.
Important: Foundation design should be checked by the buyer, local engineer or project contractor according to local soil conditions, wind load, usage requirements and regulations.
Need a foundation reference drawing for your project? We can help coordinate one.
Get Foundation Reference DrawingTools, Lifting Equipment and
Installation Crew Planning
Installation requirements depend on product type, unit size, site condition and assembly method. A small local team can usually support standard positioning and basic assembly, while flat pack and foldable units may require lifting equipment and more coordinated site work.
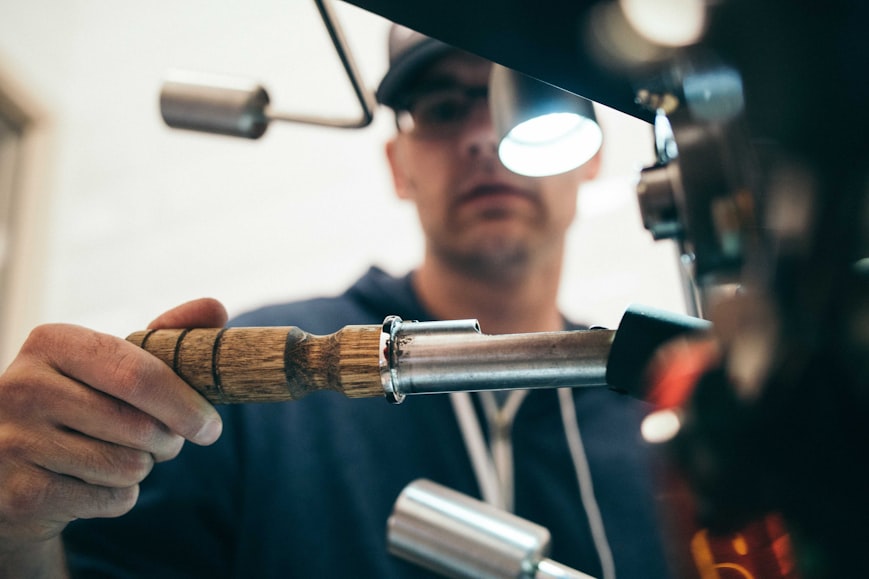
- Wrenches, screwdrivers and spanners
- Electric drill and cutting tools
- Measuring tape and level tools
- Sealant gun and waterproofing tools
- Ladders, scaffolding or working platform when required
- Crane or forklift depending on unit weight and unloading method
- Lifting belts, hooks and rated lifting points
- Guide ropes for positioning
- Temporary supports if required by the assembly sequence
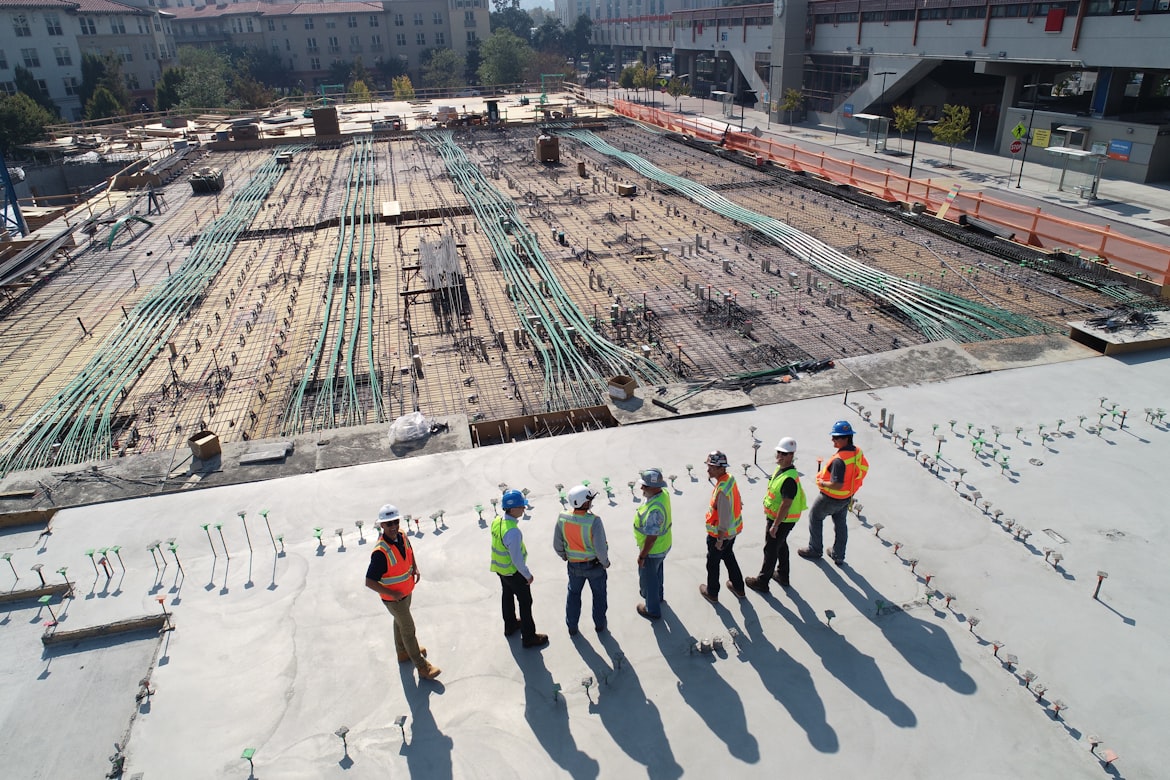
- Site supervisor for layout and safety coordination
- Skilled workers for frame and panel assembly
- Qualified electrician for final electrical connection
- Qualified plumber for water and drainage connection
The exact crew size and equipment list should be confirmed based on the product type, quantity, site access and installation schedule.
Have questions about tools or crew requirements for your specific product type?
Ask Our Installation TeamUnloading, Positioning and
Pre-Assembly Check
Before assembly starts, the site team should inspect the packaging, confirm the unloading sequence, position each unit according to the site layout and verify that key parts and accessories are ready.
Check package condition and visible transport damage.
Confirm unloading area and lifting route.
Lift or move units safely using rated equipment.
Place units according to the approved layout plan.
Check frames, panels, accessories and tools before assembly.
- Confirm foundation level and positioning marks.
- Check all major components against the packing list.
- Separate small accessories and fasteners in a safe area.
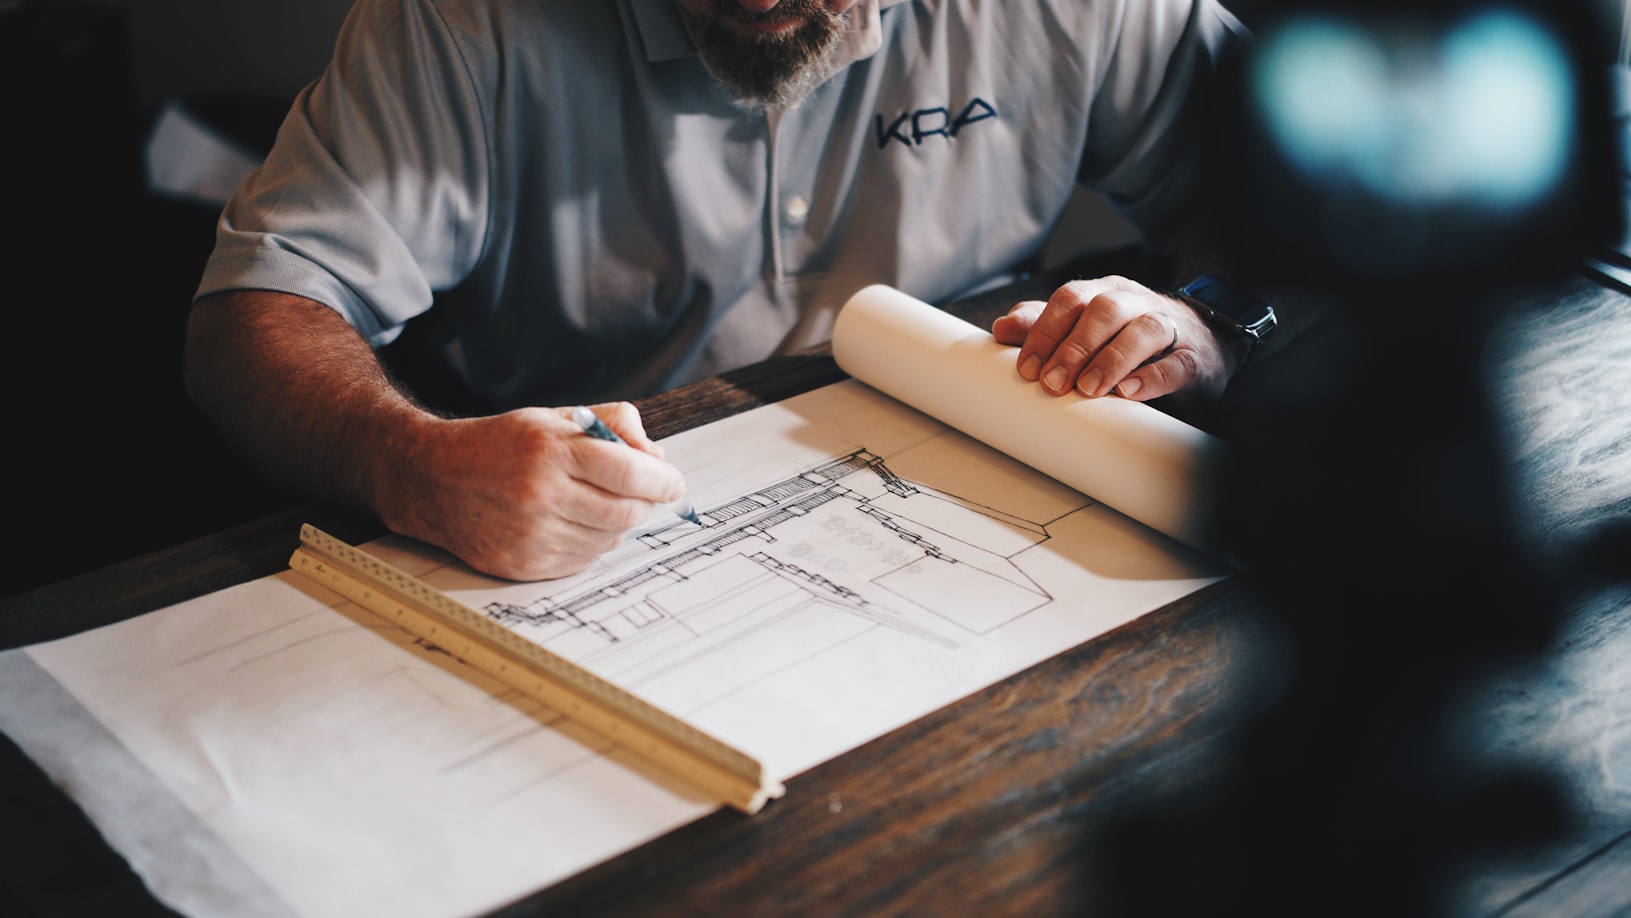
- Confirm installation drawings are available on site.
Need a packing list or pre-assembly checklist for your product type?
Request Pre-Assembly ChecklistStandard Container Unit
Installation Process
Standard container units are normally faster to position and connect because the main structure is already assembled or semi-assembled before shipment. The key work on site is foundation placement, leveling, alignment, joint sealing and final inspection.
Position the unit on the prepared foundation points.
Check level, alignment and door/window opening condition.
Connect adjacent units if a multi-unit layout is required.
Seal roof joints, side joints and connection points according to the installation reference.
Inspect interior finish, accessories, doors, windows, lights and sockets before handover.
Accommodation units, container offices, guard rooms, site cabins and small modular buildings where fast site setup is required.

Need the installation manual for standard container units?
Request Standard Unit Installation ManualFlat Pack Container Unit
Assembly Process
Flat pack container units are designed for efficient shipping and on-site assembly. The assembly sequence should follow the supplied drawings to ensure correct frame alignment, panel installation, roof fixing and waterproof sealing.

Flat pack units ship in compact stacks. Frame, columns, wall panels and roof components are assembled on site in sequence.
Place and level the bottom frame on the prepared foundation.
Install columns and check vertical alignment.
Install wall panels according to the panel sequence.
Assemble roof frame and roof panels.
Install doors, windows and accessories.
Apply sealing, check fixing points and complete interior finishing checks.
Panel sequence, bolt fixing and roof sealing should be checked carefully during installation. Incorrect sequence may increase assembly time and cause rework.
Request the flat pack assembly drawing and installation manual for your project.
Request Flat Pack Assembly ManualFoldable and Expandable Container
House Installation Process
Foldable and expandable container houses are suitable for projects that require fast deployment, relocation or temporary accommodation. Compared with flat pack assembly, the main installation work is lifting, unfolding, locking, fixing and connection checking.

Place the folded unit on the prepared foundation or support points using rated lifting equipment.

Open the side sections or folding structure according to the required sequence.
Fix locking points, check structure, seal joints and prepare utility connection.
Temporary camps, emergency housing, remote site offices and projects where fast setup and relocation flexibility are important.
Need the installation reference for foldable or expandable units?
Request Foldable Unit Installation GuideElectrical, Plumbing and Drainage
Connection on Site
Many modular container buildings are supplied with internal electrical or plumbing preparation. Final on-site connection should be planned before installation and completed by qualified local professionals according to local regulations.
- Confirm voltage, socket standard and distribution box position.
- Check lighting, switches and internal wiring condition.
- Connect main power supply through qualified local electricians.
- Test electrical safety before the unit is put into use.
- Confirm water inlet and drainage outlet positions before installation.
- Connect toilets, showers, kitchens or sanitary modules to local water and drainage systems.
- Check waterproofing around wet areas, floor drains and pipe penetrations.
- Test water flow and drainage before final handover.
Voltage, sockets, lighting and distribution board position
Inlet position, drainage outlet and slope reference
Floor drains, penetrations and corner sealing reference
Final electrical and plumbing connection should be completed by qualified local electricians or plumbers according to local codes, site conditions and project requirements. DingChi coordinates product preparation and reference documents — local licensed professionals are responsible for final utility connection.
Need the MEP layout reference or plumbing connection drawing for your unit type?
Request MEP Layout ReferenceInstallation Safety and
Quality Check Points
A structured safety and quality check helps site teams reduce installation errors and confirm that the units are ready for use. The checklist should be reviewed during lifting, positioning, assembly, sealing and final connection.
Use rated lifting equipment and avoid standing under suspended loads.
Confirm support points are level before fixing or connecting units.
Check bolts, locking points, columns, frames and panel fixing.
Review roof joints, wall joints, corners and wet-area sealing.
Test power connection, sockets, lights and distribution box before use.
Check doors, windows, interior finish, accessories and visible damage.
Need an installation quality checklist for your site team?
Request Installation ChecklistCommon Installation Problems
and How to Avoid Them
The following issues are common in modular container installation projects. Most of them can be prevented by preparing the foundation, checking drawings, confirming tools and following the correct assembly sequence.
| Problem | Common Cause | How to Avoid |
|---|---|---|
| Uneven foundation | Foundation points are not level. |
Check foundation height before unloading and adjust support points before fixing units.
|
| Poor drainage | Site slope and drainage path were not planned. |
Confirm drainage direction and keep water away from the unit base.
|
| Missing tools or accessories | Installation team did not check the packing list. |
Verify tools, accessories and small parts before assembly starts.
|
| Incorrect lifting method | Wrong lifting points or unsuitable equipment. |
Use rated lifting equipment and follow the recommended lifting points.
|
| Wrong panel sequence | Flat pack panels installed without following drawings. |
Use the installation drawing and separate panels by sequence before assembly.
|
| Loose sealing | Roof or wall joints not sealed properly. |
Check all joints after assembly and apply sealant according to the reference.
|
| MEP connection mistakes | Local utility positions were not confirmed in advance. |
Confirm electrical, water and drainage points before placing the units.
|
Want to avoid these issues on your project? Request the pre-installation checklist.
Request Pre-Installation ChecklistInstallation Documents We Can Provide
For confirmed product types and project requirements, DingChi can coordinate installation-related documents to help your team prepare the site, understand the assembly sequence and plan utility connection before goods arrive.
PDF installation reference for selected product types.
Basic foundation point and support reference for project discussion.
Unit layout and internal arrangement reference.
Electrical, water inlet and drainage outlet reference when applicable.
Component and accessory checking reference before assembly.
Dimensions, configuration and material information.
Photos or visual references from similar assembly steps when available.
Communication support for site questions during installation.
Tell us your product type and project stage and we will coordinate the right documents.
Request Installation DocumentsInstallation Support Workflow
for Your Project
DingChi supports buyers with installation-related communication before shipment and during site preparation. Our goal is to help your local team understand the correct installation sequence, prepare the required site conditions and reduce avoidable installation issues.
We confirm the unit type, quantity, configuration and installation method.
You share site layout, foundation idea, access condition and utility points if available.
We coordinate drawings, manuals or installation references based on the selected product.
We help you check whether the foundation and site preparation direction is reasonable for discussion.
During installation, your team can share photos or questions for communication support.
We support after-installation issue communication when adjustments or checks are needed.
Ready to start the installation support process for your project?
Start Installation SupportInstallation Guide FAQ
Common questions from contractors, distributors, camp operators and project buyers before preparing site installation.
It depends on unit type, weight, site access and unloading method. Standard units and foldable units usually require lifting equipment for unloading or positioning, while flat pack units may need lifting support for frames, roof components or stacked panels.
Crew size depends on product type and project scale. Small standard units may require fewer workers, while flat pack assembly and camp projects require a more organized team with a supervisor.
Common options include concrete blocks, strip foundation or slab foundation. Final foundation design should be checked according to local soil condition, load requirement and regulations.
Yes, local workers can usually install flat pack units if they follow the installation drawings and have proper tools, lifting support and site supervision.
DingChi can provide installation manuals, foundation reference drawings, floor plans and MEP reference layouts depending on the product type and project stage.
Final electrical and plumbing connection should be completed by qualified local electricians and plumbers according to local regulations.
Installation time depends on unit type, quantity, site readiness, crew experience and equipment availability. Foldable units are generally faster to deploy, while flat pack units require more assembly steps.
Some products, especially foldable or portable units, are more suitable for relocation. Relocation feasibility depends on fixing method, MEP connection, foundation type and site conditions.
Have a question not covered here? Send us your installation question directly.
Ask an Installation QuestionPrepare Your Site Before the Units Arrive
Share your product type, quantity, project country and site condition. DingChi can help coordinate installation documents, foundation references, MEP layouts and technical communication so your local team can prepare with more confidence.
- Installation manual for selected product type
- Foundation reference drawing for project discussion
- MEP layout reference when applicable
- Packing list and pre-assembly checklist
- Remote technical communication support